Australian · Beef
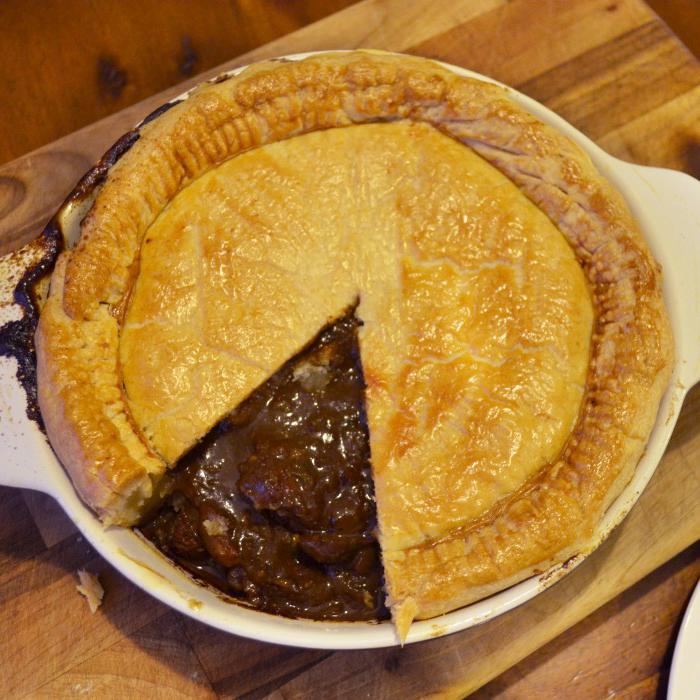
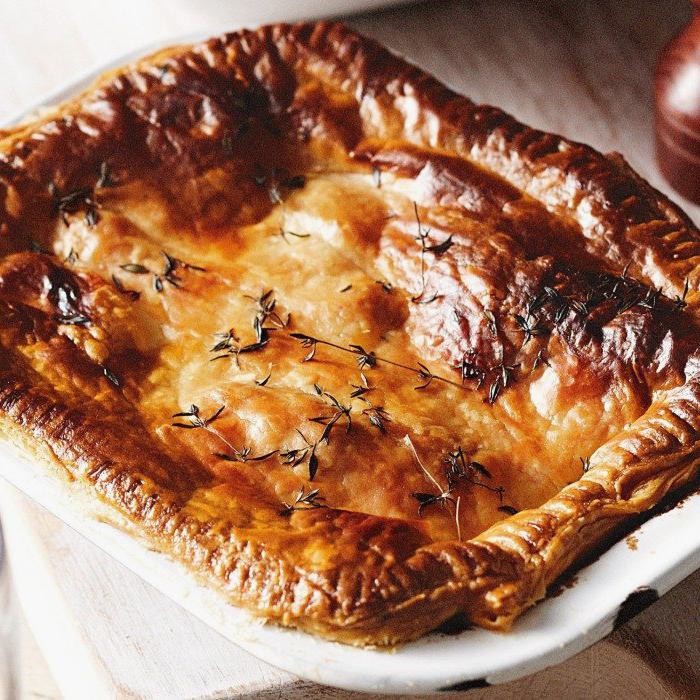
Australian Meat Pie
A hearty hand-held pie filled with seasoned minced beef in rich gravy, encased in golden puff pastry. This Australian icon is the ultimate comfort food, traditionally served with tomato sauce at sports events and bakeries.
The Method
Instructions
Alright, first things first, grab a large pan and heat up some oil over medium heat. Once the oil is shimmering nicely, toss in the chopped onion. Let it cook gently, stirring now and then, until it softens up and becomes translucent. This should take about 5 minutes. You'll start to smell that sweet onion aroma filling your kitchen, which is always a good sign.
Next, add the beef mince to the pan. Now, this is where you want to really get in there with your spoon and break up those lumps as it cooks. Keep stirring and turning the mince so it browns evenly. This step usually takes around 8 minutes. You want the meat to have a nice golden color and to be cooked right through, which builds so much flavor.
Once your mince is looking great, sprinkle in the flour and give everything a good stir. Let it cook together for about a minute; this helps thicken the filling later on. Now, pour in the beef stock along with the Worcestershire sauce, tomato paste, and your herbs. Stir everything to combine, then reduce the heat so it's just simmering gently. Let it bubble away for about 20 minutes until the mixture has thickened up nicely. It should be rich, hearty, and absolutely smelling delicious by this point. Don't forget to season it with some salt and pepper to taste. Once it's done, take it off the heat and let it cool completely before moving on. If you skip this cooling step, your pastry might get soggy, and that's the last thing we want!
While your filling is cooling, go ahead and preheat your oven to 200 degrees Celsius (or 180 degrees Celsius fan , or gas mark 6). Now, roll out your shortcrust pastry on a lightly floured surface until it's nice and even. Use a round cutter to cut out circles that will fit snugly into your individual pie tins. Carefully press each pastry circle into the tins, making sure there are no air pockets or folds.
Next up, spoon the cooled meat mixture evenly into each of the pastry cases. Don't overfill, but make sure there's a generous amount , this is the best part after all! Now, take some beaten egg and brush it along the edges of the pastry. This acts as a glue to help the lids stick properly.
Roll out your puff pastry and cut out circles that are just a bit bigger than the pie tins. Gently place these puff pastry lids on top of the filled pies, pressing down on the edges to seal everything together. Trim off any excess pastry for a neat finish. Then, with a small knife, cut a tiny hole in the center of each lid. This little vent lets steam escape while baking so your pies don't burst open unexpectedly.
For that beautiful golden shine, brush the tops of your pies with the beaten egg. Now pop them into the preheated oven and bake for 30 to 35 minutes, or until the tops are puffed up and golden brown. Your kitchen will smell incredible, and you'll know they're ready when the pastry looks crisp and inviting.
Once baked, take them out and let them rest for a few minutes. Serve your warm Australian meat pies with a good dollop of tomato sauce on the side. It's the perfect comfort food combo that's sure to make everyone smile. Enjoy!
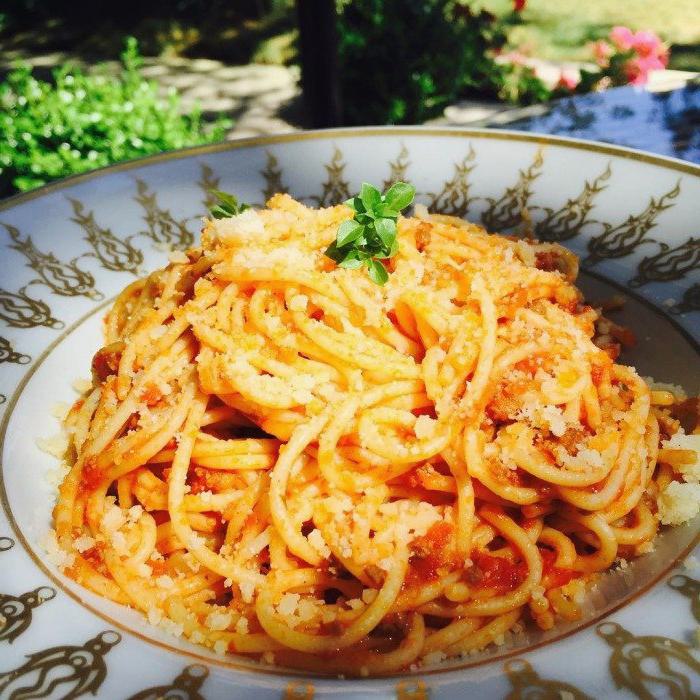
Pairs Well With