French · Miscellaneous
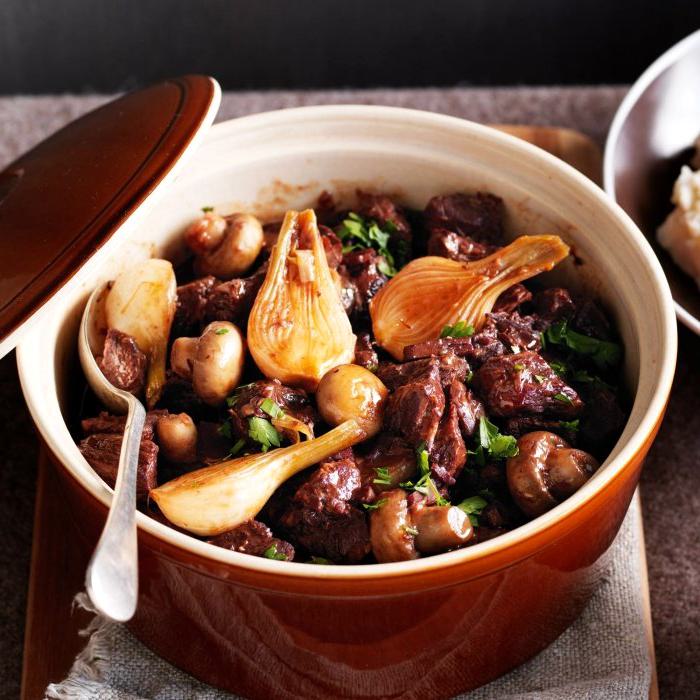
Duck Confit
A classic French preservation method where duck legs are slow-cooked in their own fat until incredibly tender. This traditional technique can be prepared days ahead and finished with crispy skin for an authentic bistro experience.
The Method
Instructions
The day before you plan to enjoy this delicious duck confit, start by grabbing a small shallow dish. Scatter half of your sea salt, half the garlic, and half of the fresh herbs evenly across the base of the dish. This will create a flavorful bed for the duck legs. Now, gently lay the duck legs on top with the skin side facing up. Take a moment to appreciate that beautiful skin because it's going to get wonderfully crispy later. Next, sprinkle the remaining salt, garlic, and herbs over the duck. Once everything is nicely covered, cover the dish loosely with cling film or a lid and pop it into the fridge. Let the duck marinate overnight,it's the perfect amount of time for all those lovely flavors to seep into the meat. If life gets busy, no worries! You can prep this part up to 2 days ahead and keep it chilled until you're ready.
When it's time to cook, pour your white wine into a saucepan that's just the right size to fit the duck legs in a single snug layer. Now, carefully brush off the salt mixture from the duck legs, but don't stress about removing every bit; a little will add to the flavor. Place the duck legs skin side down into the wine in the pan. This skin side down placement will help render the fat and keep things succulent. Cover the pan with a lid, then place it over medium heat. Keep an eye on it, because as soon as the wine begins to bubble, you want to turn the heat down to the lowest setting. The goal here is a gentle, barely there simmer. It's a slow, patient process, but it's totally worth it. Let the duck cook gently for 2 hours, checking now and then to make sure the liquid is just simmering softly. (If you happen to have a heat diffuser, this is the perfect time to use it to keep the heat extra even.) After those 2 hours, you should find the duck legs beautifully tender, almost melting when you gently prod them, and by now they'll be swimming in their own silky duck fat. Let the pan cool down a bit before moving on.
At this point, your duck legs are fully cooked and can be enjoyed straight away if you like. But if you want that irresistible crispy skin, keep reading because we're just getting started! If you're making this ahead of time, pack the duck legs tightly into a plastic container or jar. Then, pour over the delicious duck fat from the pan, but leave behind the cooking liquid at the bottom. Seal the container and store it in the fridge for up to a month, or if you're thinking long term, freeze for up to 3 months. Don't toss that cooking liquid though,it's packed with flavor and makes a fantastic gravy. You can chill or freeze it separately until you're ready to serve.
When you're ready to reheat and crisp up the duck, first preheat your oven to a toasty 220C (or fan 200C , or gas mark 7 ). Carefully remove the duck legs from the fat, letting any excess drip off. Place them skin side down in an ovenproof frying pan or a roasting dish that can go straight into the oven. Pop them in and roast for about 30 to 40 minutes, turning them halfway through the cooking time. You're looking for that gorgeous golden brown color and a crispy, crackling skin that's just begging to be eaten. Serve up those crispy beauties with the reheated gravy, along with a fresh crisp salad and some golden, crispy potatoes for the perfect hearty, comforting meal. Trust me, this is classic French indulgence at its best!
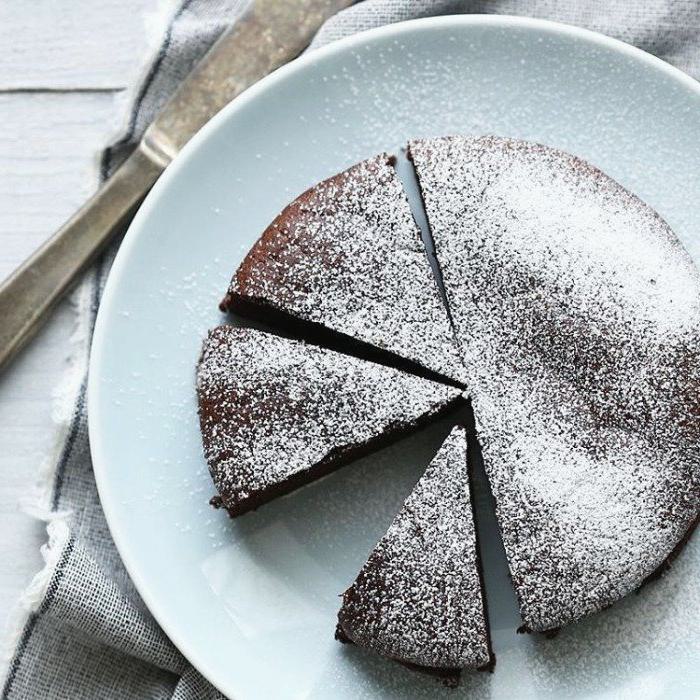
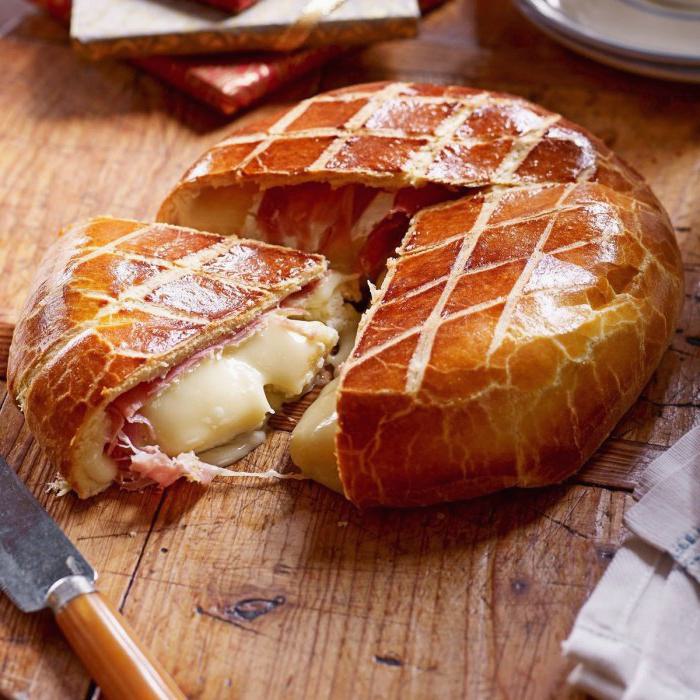
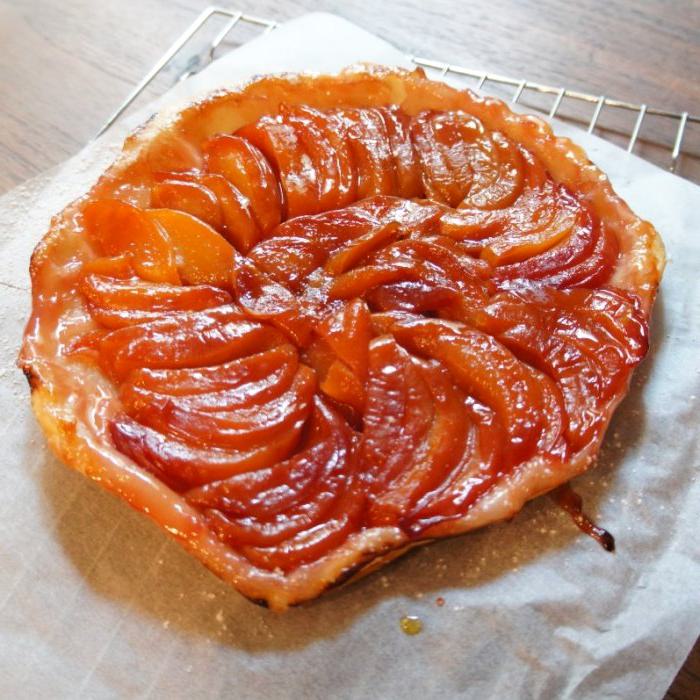
Pairs Well With